Threat, vulnerabilities, risks, incidents are very common words in the cyber world. Vulnerabilities bring threats and risks, apparently leading to security incidents. In this article, we will be focusing on Threat Intelligent. Here, we will install our own Threat Intelligence platform utilizing an open-source solution: MISP.
What is MISP?
The MISP is an open source software solution for collecting, storing, distributing and sharing cyber security indicators and threats about cyber security incidents analysis and malware analysis. MISP is designed by and for incident analysts, security and ICT professionals or malware reversers to support their day-to-day operations to share structured information efficiently.
Source: MISP Official Website
![]()
Before diving into installing the MISP platform, let’s have a quick flashback on Threats.
What is a cyber threat?
A threat refers to any potential danger or harmful event that can exploit a vulnerability and cause harm to a system, organization, or individual.
Source: RiskOptics
When dealing with threats, we deal with Threat Data, Threat Information and Threat Intelligence.
Threat Data
Threat Data is basically a known set of information about malicious domains, URLs, IPs etc. Raw threat data usually does not provice much context about the relationship with attacks or incidents.
Threat Information
Threat Information provides some context and details about the attacks and incidents. For example, the intrusion strategy, what vulnerabilities were exploited etc. There are established formats for threat information. A quite popular format is “Structured Threat Information and eXpression (STIX)“. It was develped by MITRE for the US Department of Homeland Security. STIX is a structured language for sharing, storing, analyzing and describing cyber threat information in a consistent manner.
What is Threat Intelligence?
Threat intelligence is detailed, actionable threat information for preventing and fighting cyberthreats targeting an organization
Source: IBM
Threat Intelligence is really important. Threat intelligence is analyzed and organized threat information. It usually contains Indicators of Compromise (IOC), Indicators of Attack (IoA), Tactics Techniques & Procedures (TTP) for a lot of known cyber incidents.
Managing Threat Intelligence in an efficient manner is a challenging job. There are quite a few reliable solution for that. Many of those are paid. Luckily, not all of them. We will set up MISP for managing Threat Intelligence and we will do that using Docker container.
Let’s do this!
At first, create a folder. Let’s name this folder “MISP”. Get inside this folder and clone this GitHub Repository: https://github.com/misp/misp-docker using the following command: (I assume you already have Git installed and configured in your system)
git clone https://github.com/misp/misp-docker
Once cloned, get inside the “misp-docker” folder. At this point, we need to pull two Docker images with the following commands:
docker pull ghcr.io/misp/misp-docker/misp-core:latest
docker pull ghcr.io/misp/misp-docker/misp-modules:latest
Let both the processes complete. After that, simply run the following command:
docker-compose up
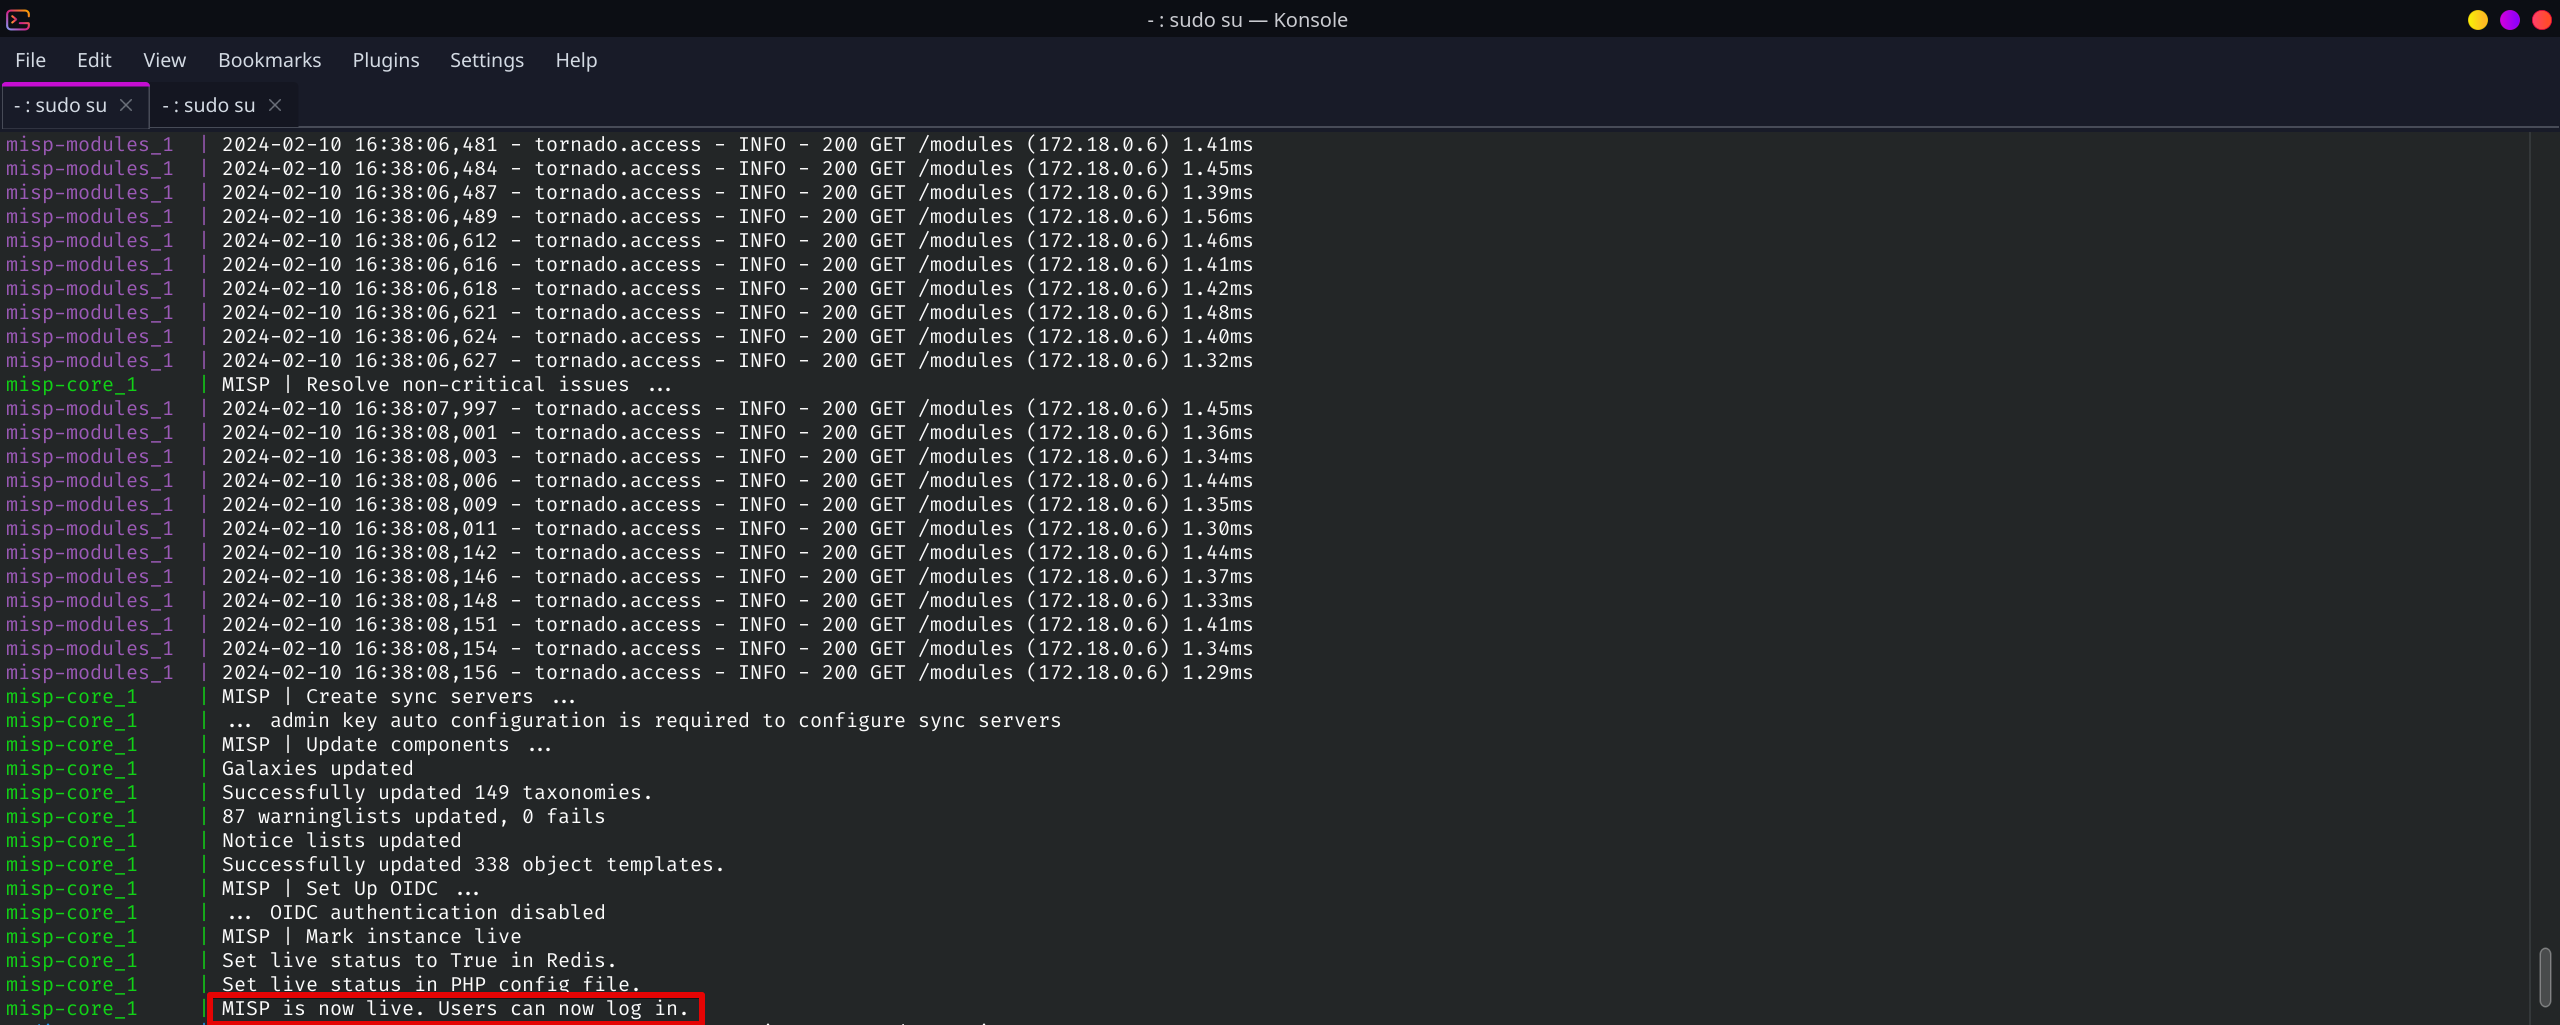
If completed successfully, you will see the following lines in your terminal and that means, you are ready to access your Threat Intelligence platform.
Please note, this article is for educational purposes only and doesn’t show details about configuring the advanced variables for production environment. If you don’t configure those, you will see WARNINGS in the terminal like this:
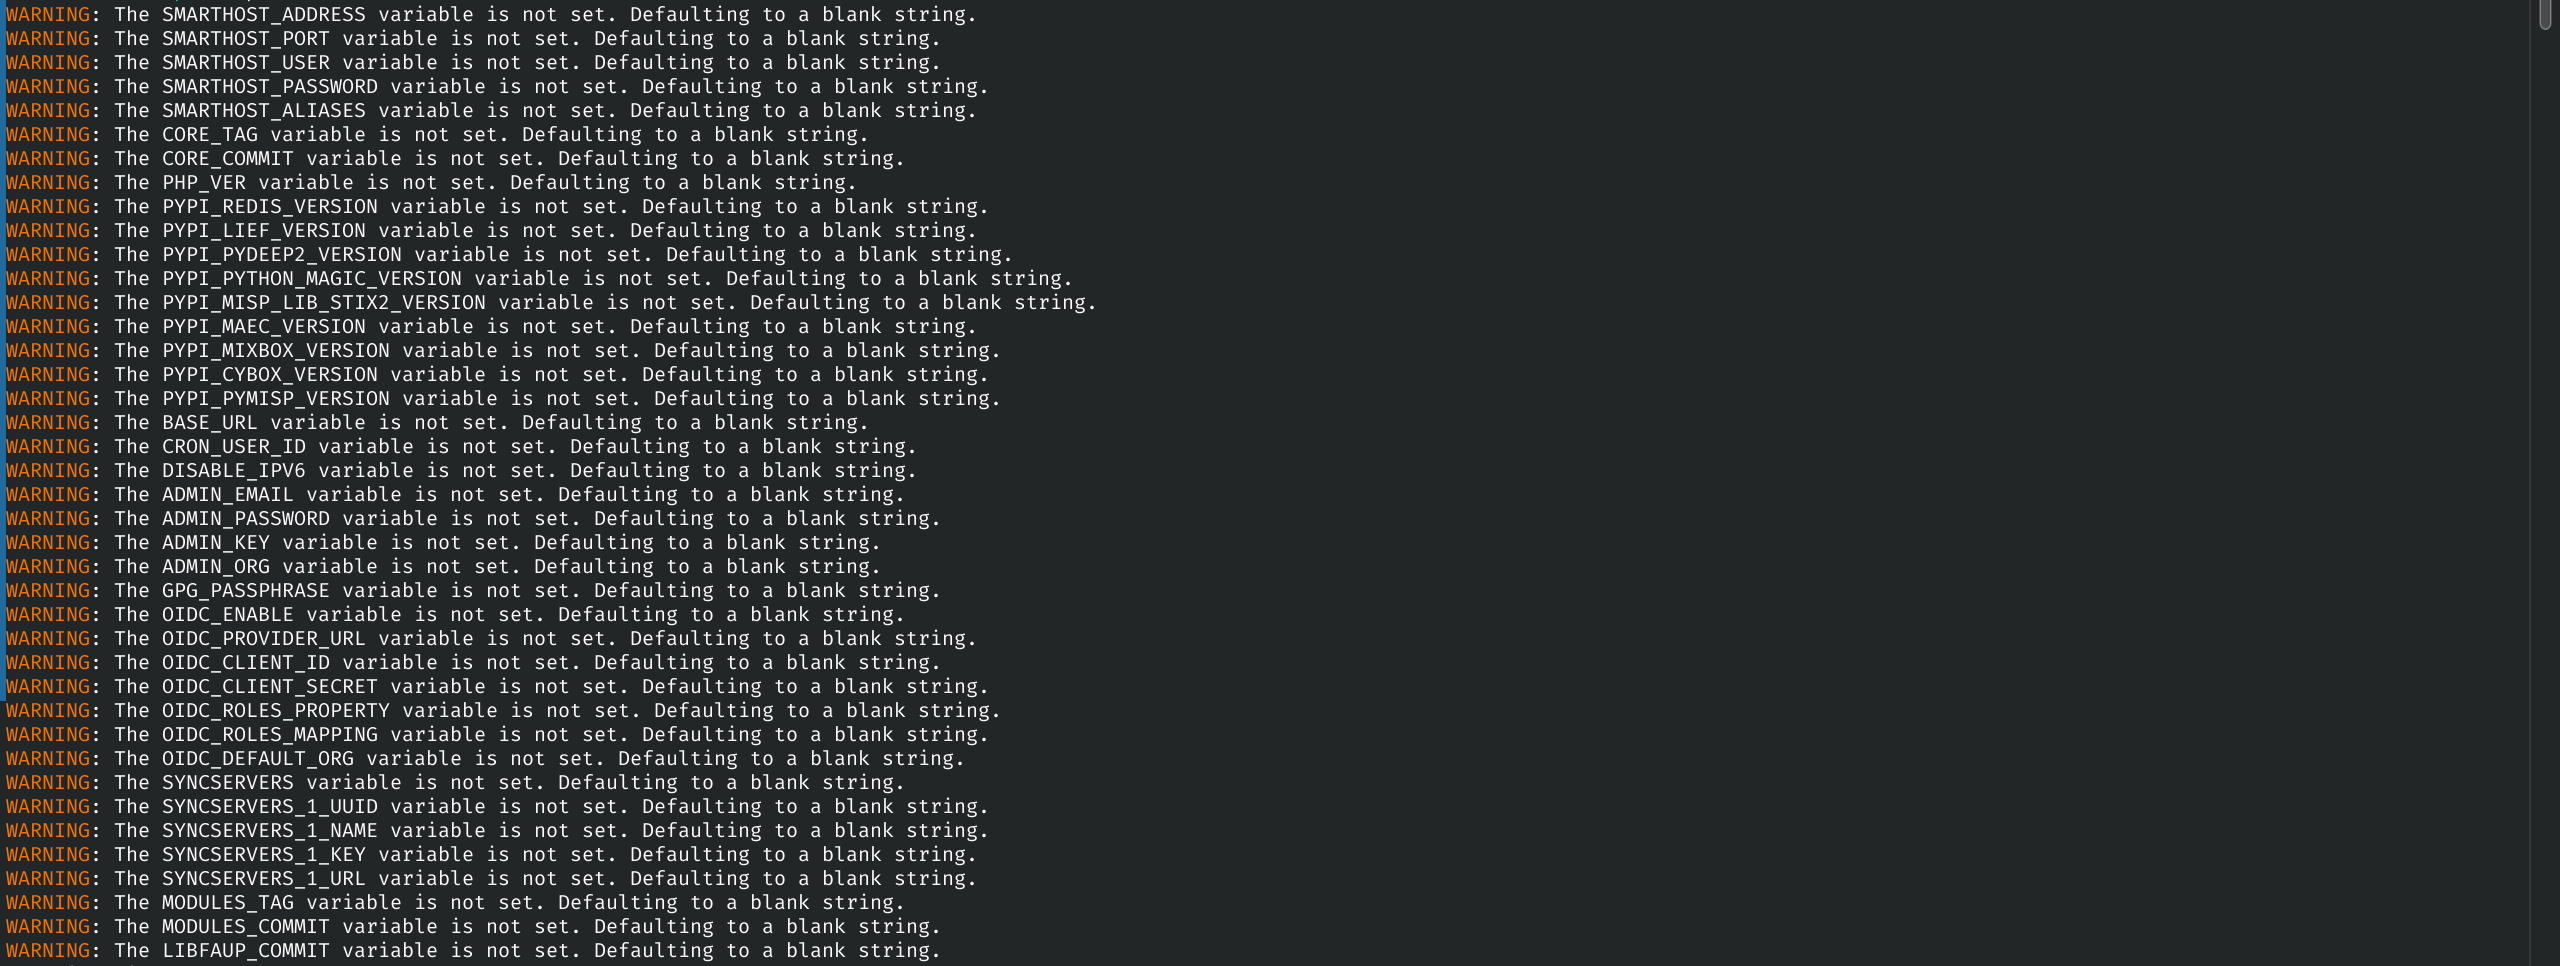
If you want (and you should), you can set all those environmental variables as per your own system/environment.
To access your MISP platform, open your browser and simply go to localhost: https://localhost/
It will definitely give you a warning about the SSL Certificate not being trusted because it’s a self-signed one. But as you signed that certificate, you can trust it for now, at least for the educational purpose. You definitely need a proper SSL certificate while deploying in a production environment.
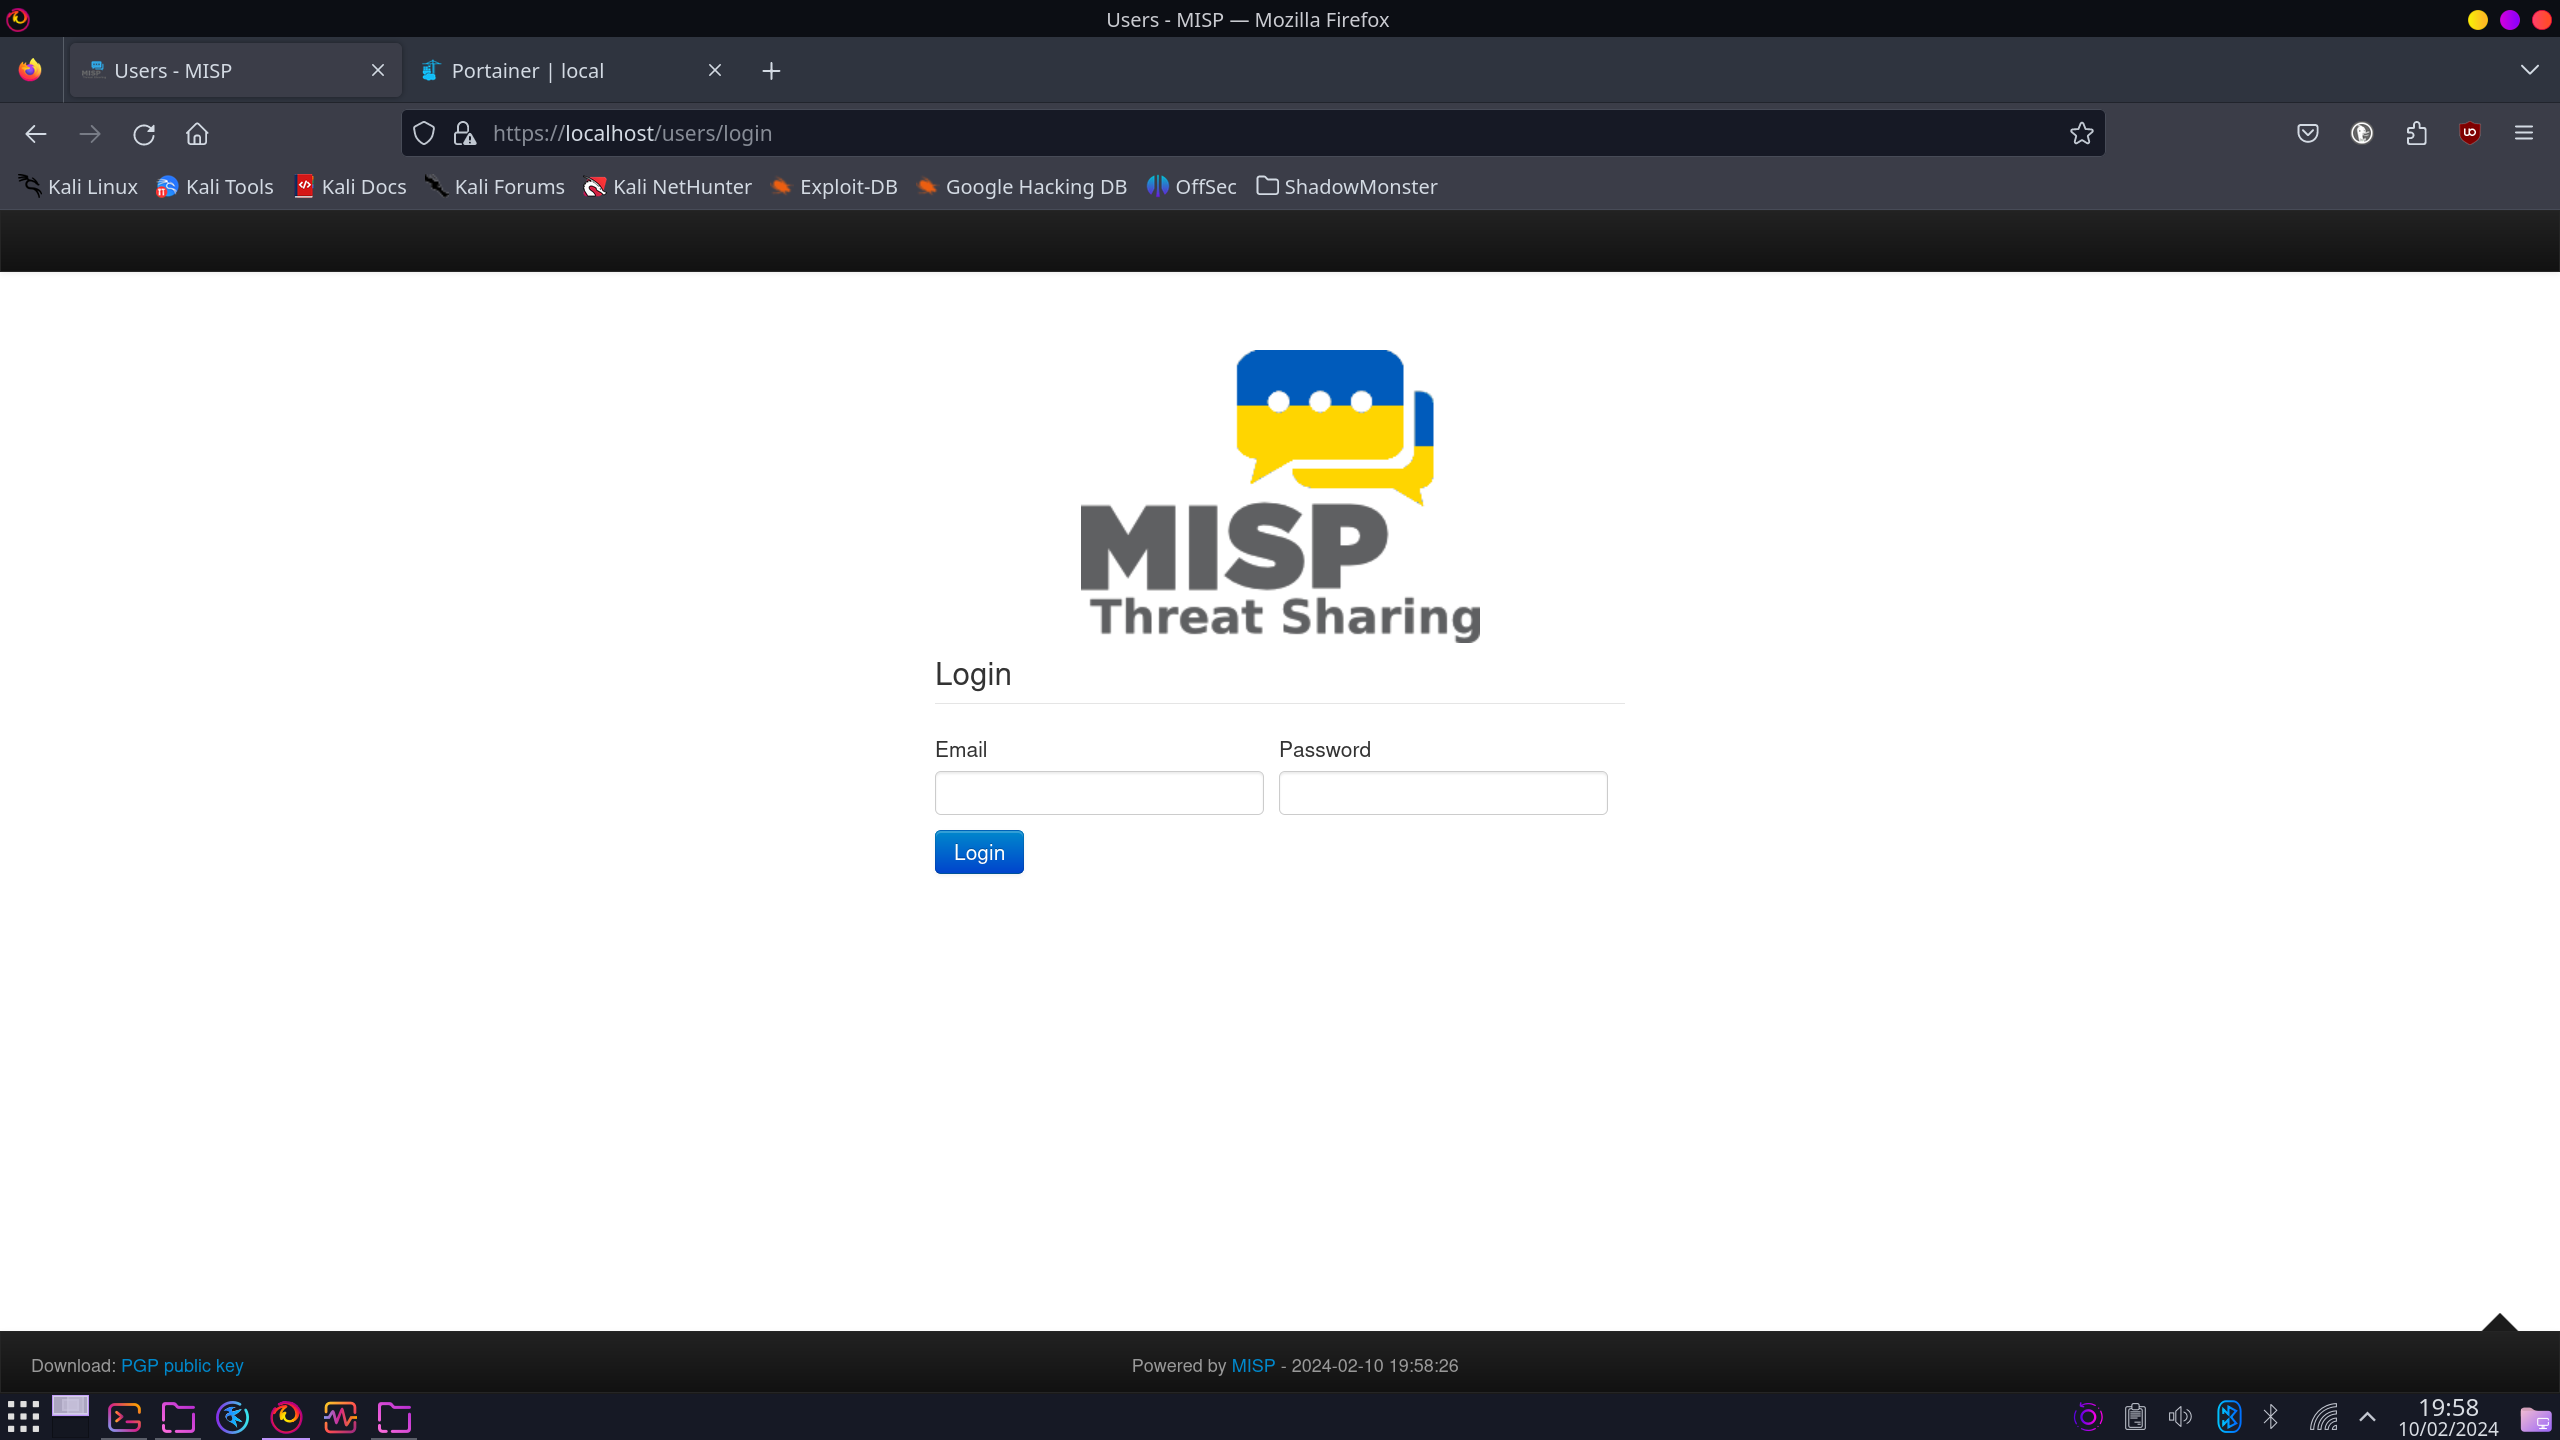
The default username is “[email protected]” and the password is “admin”. Once you login, the playground is yours.
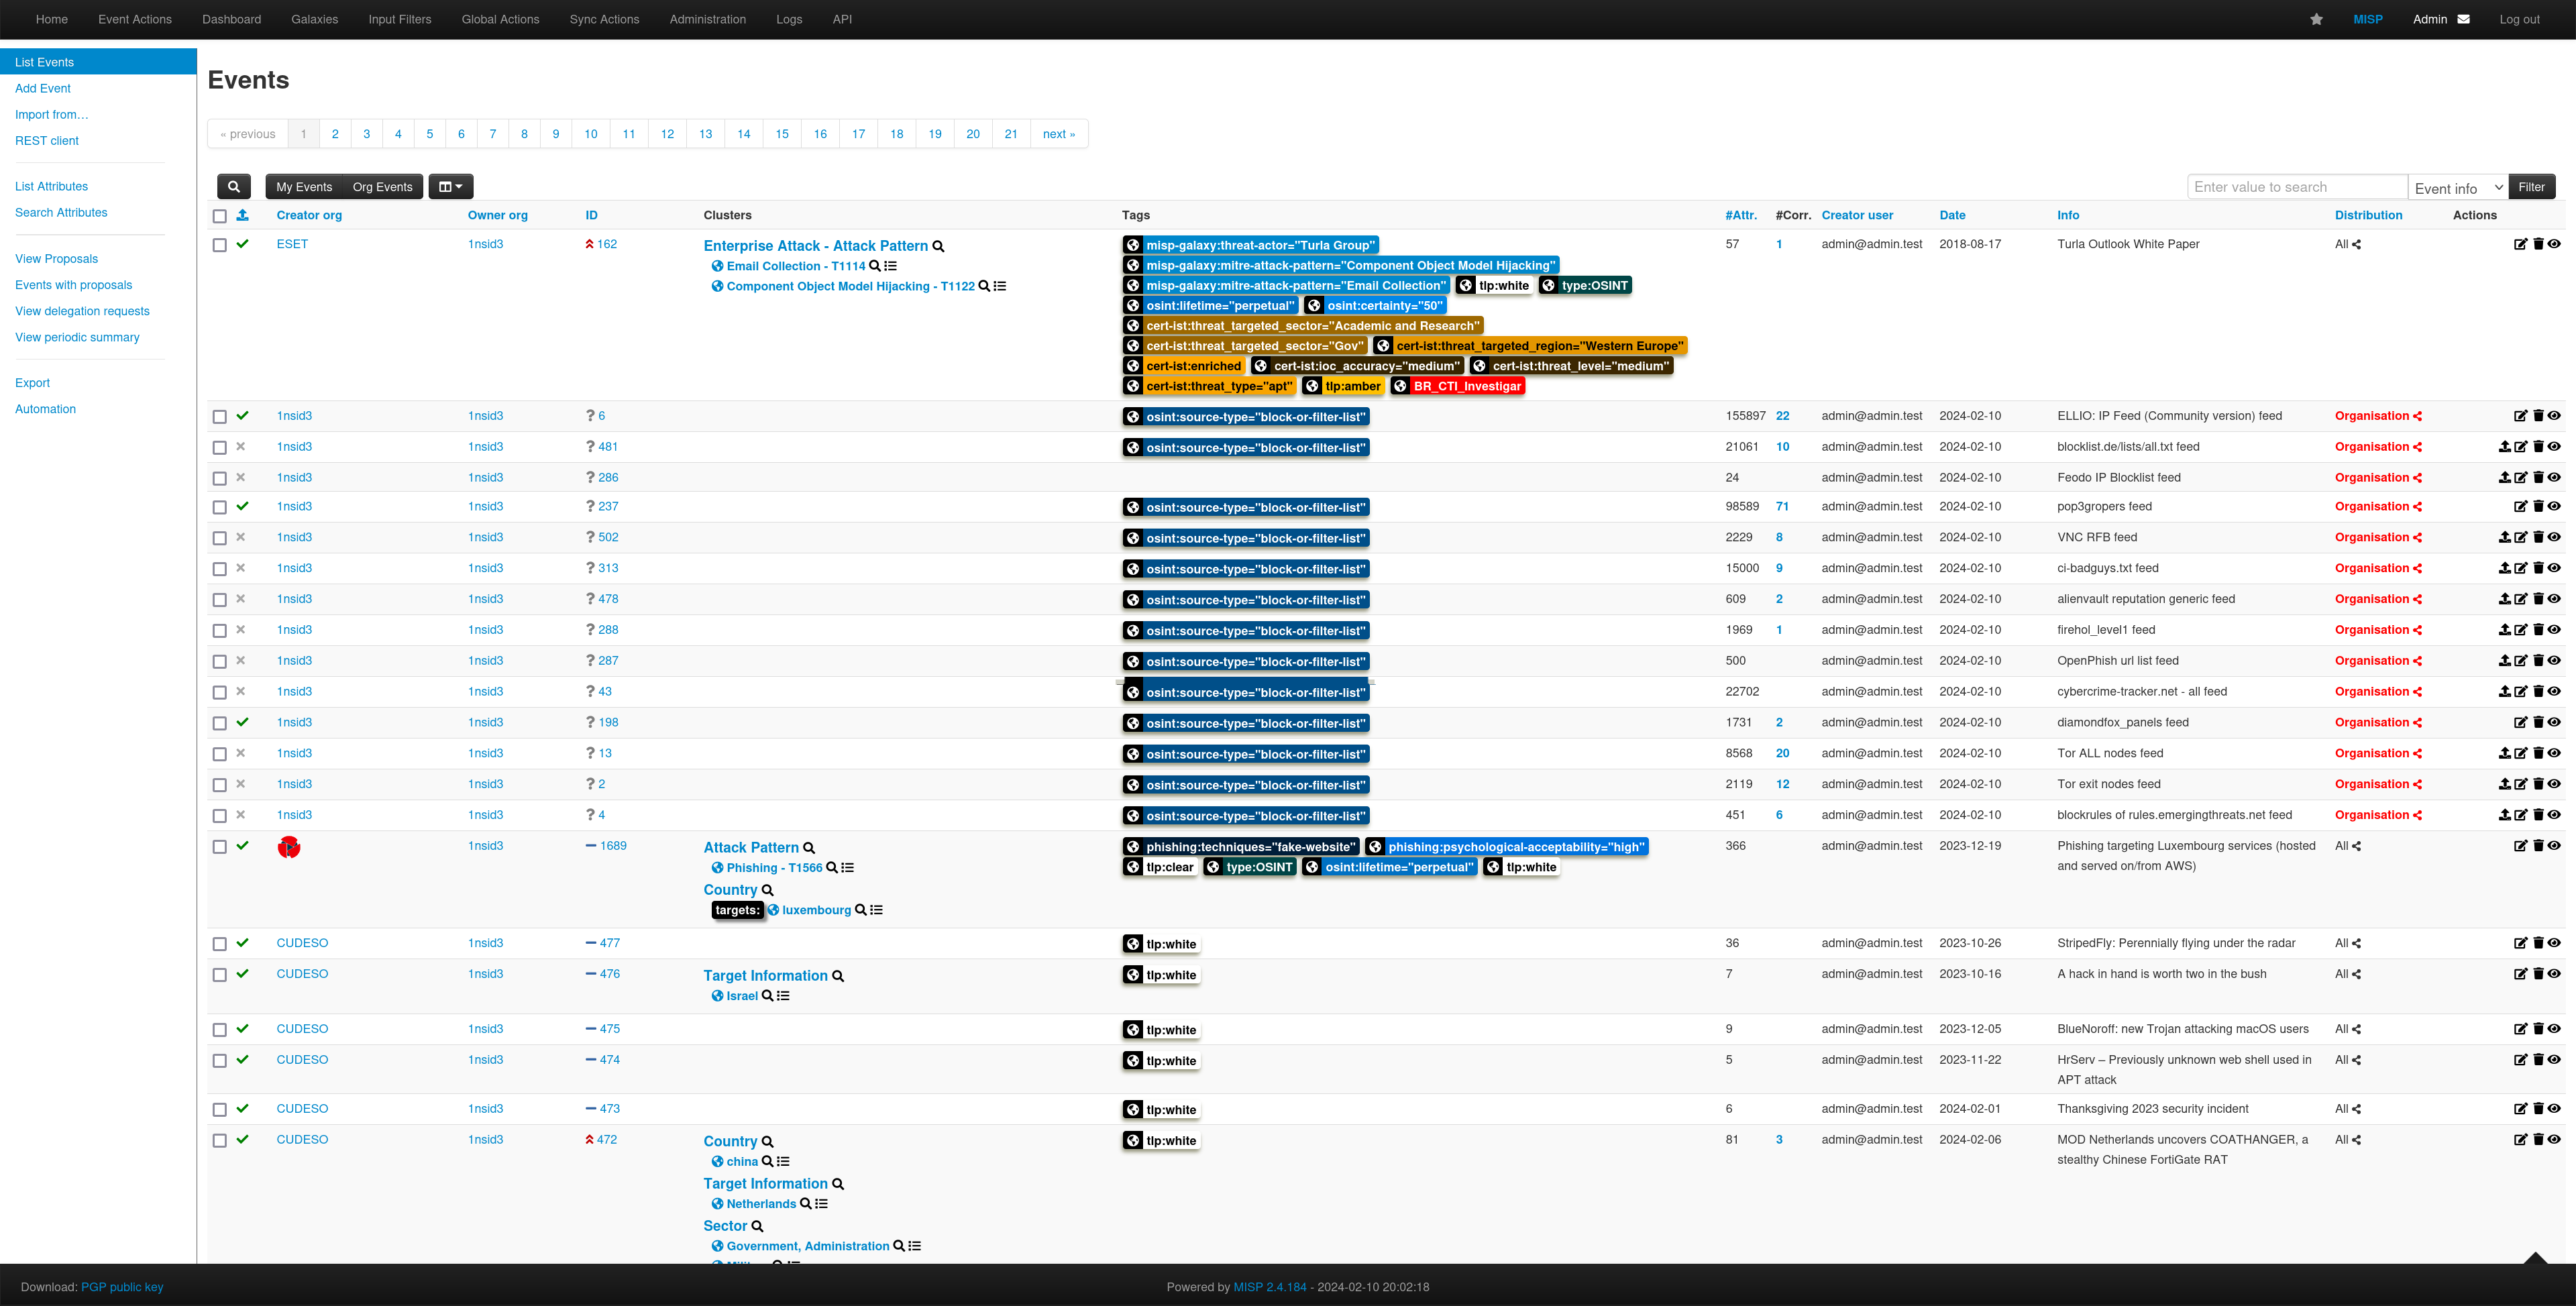
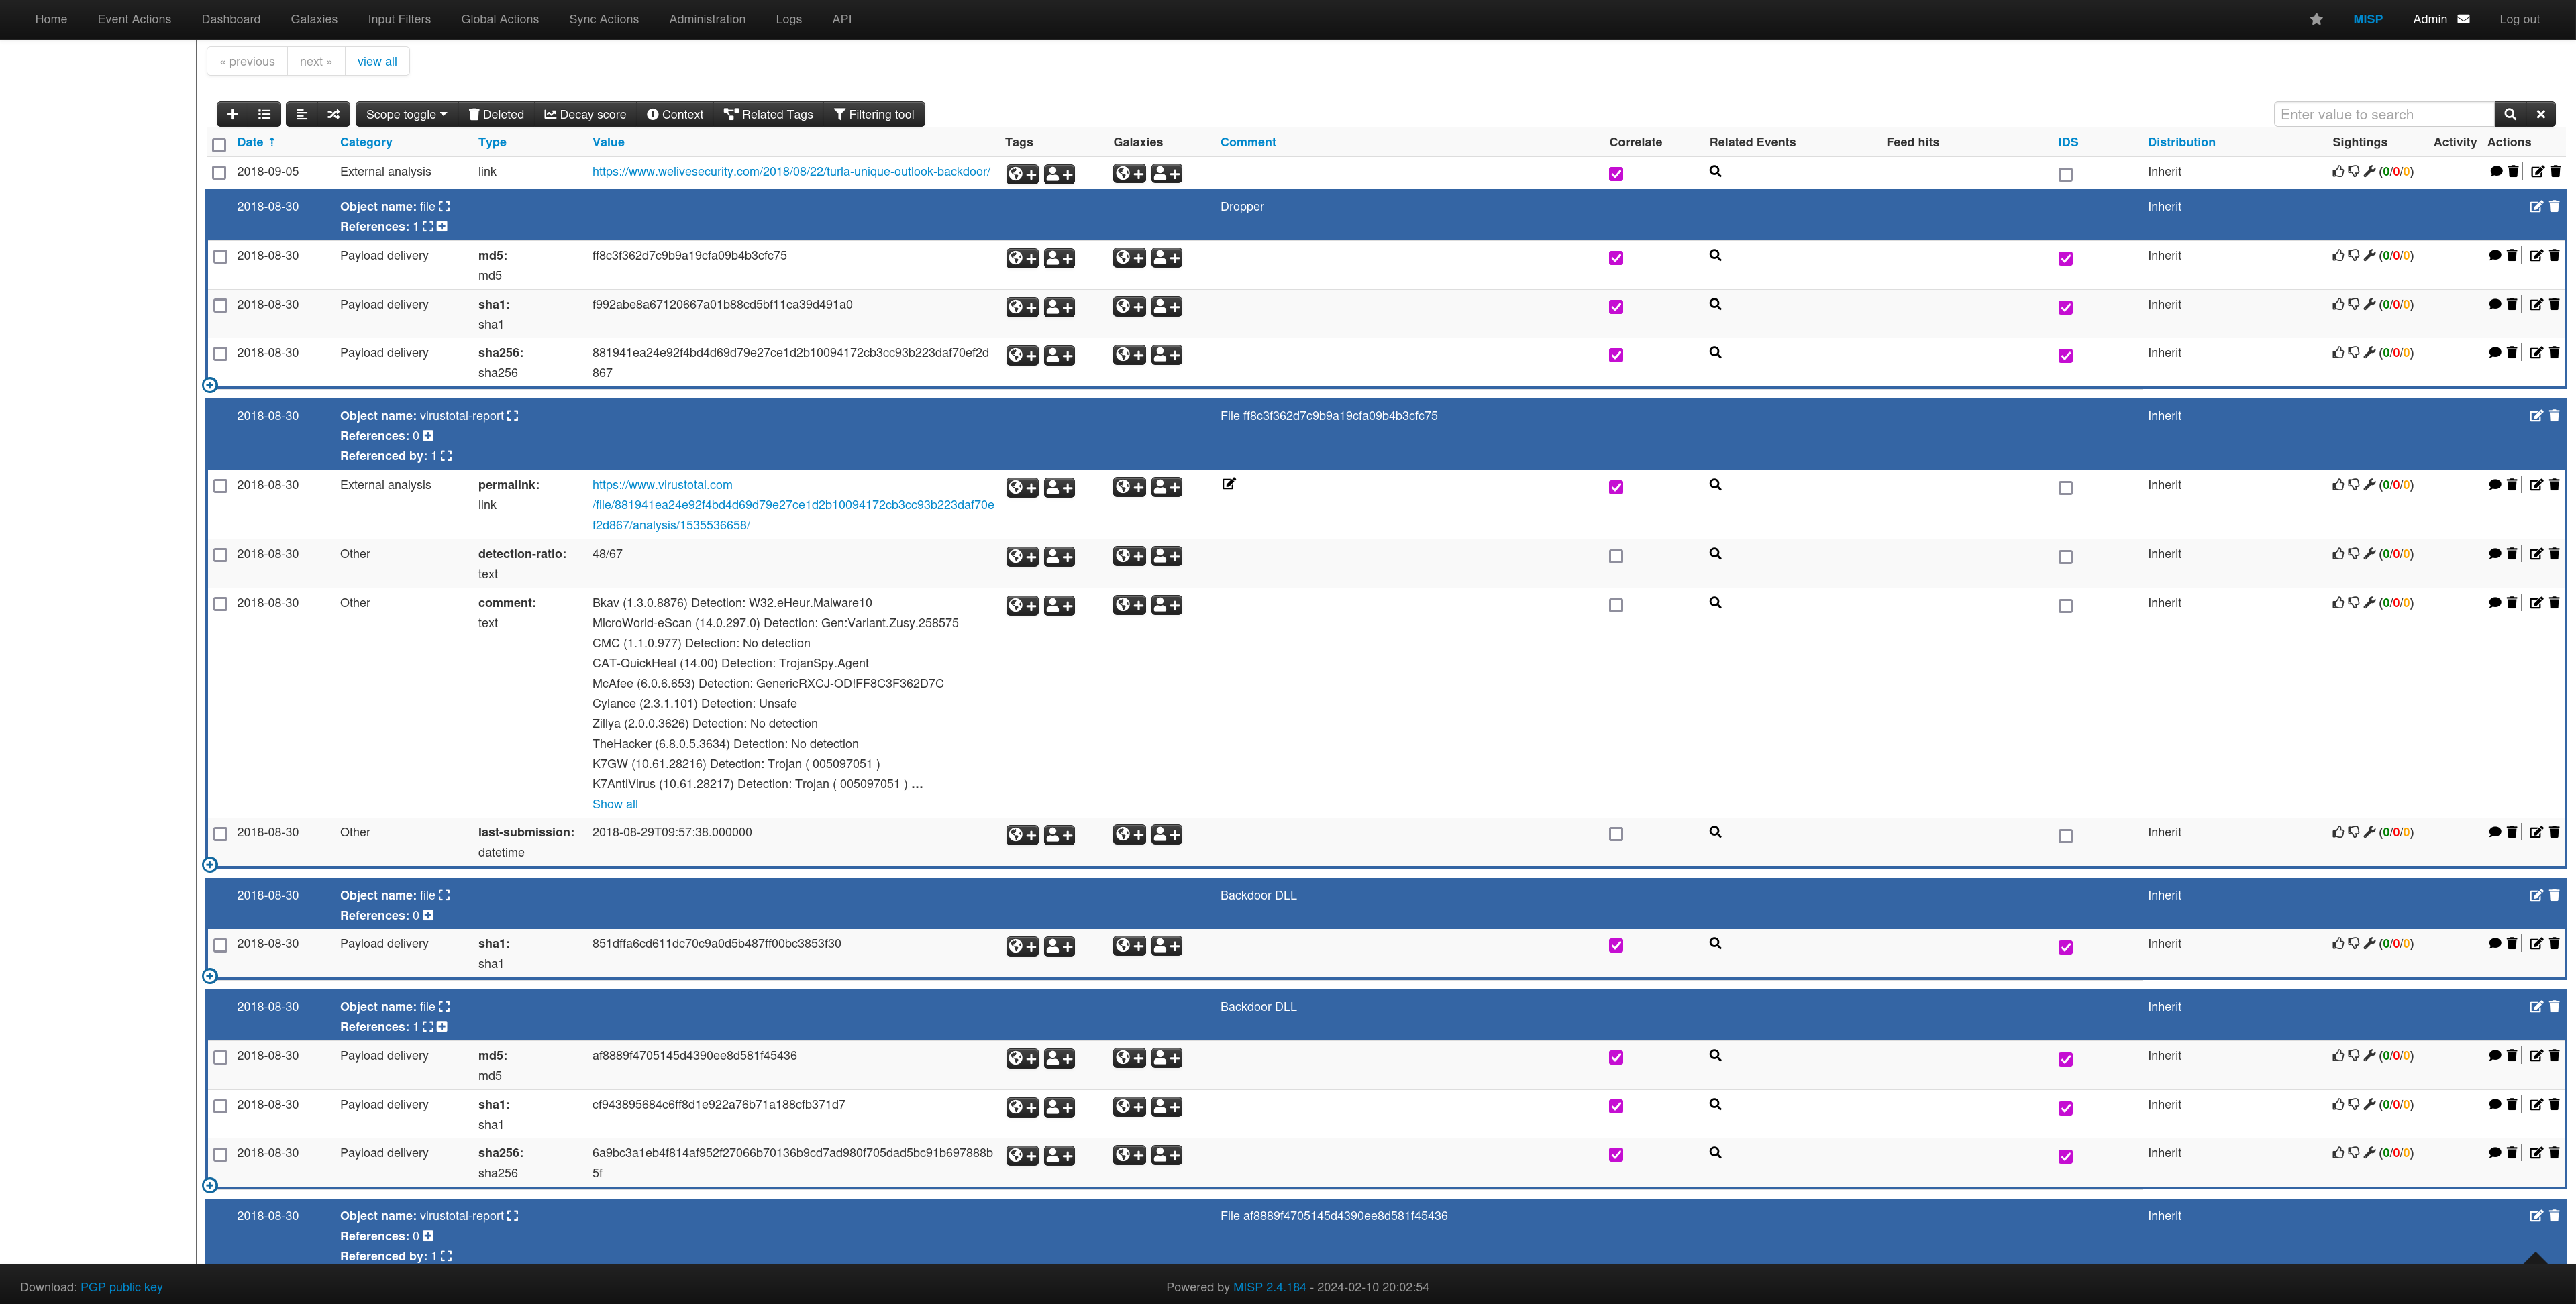
You can list the events of course.
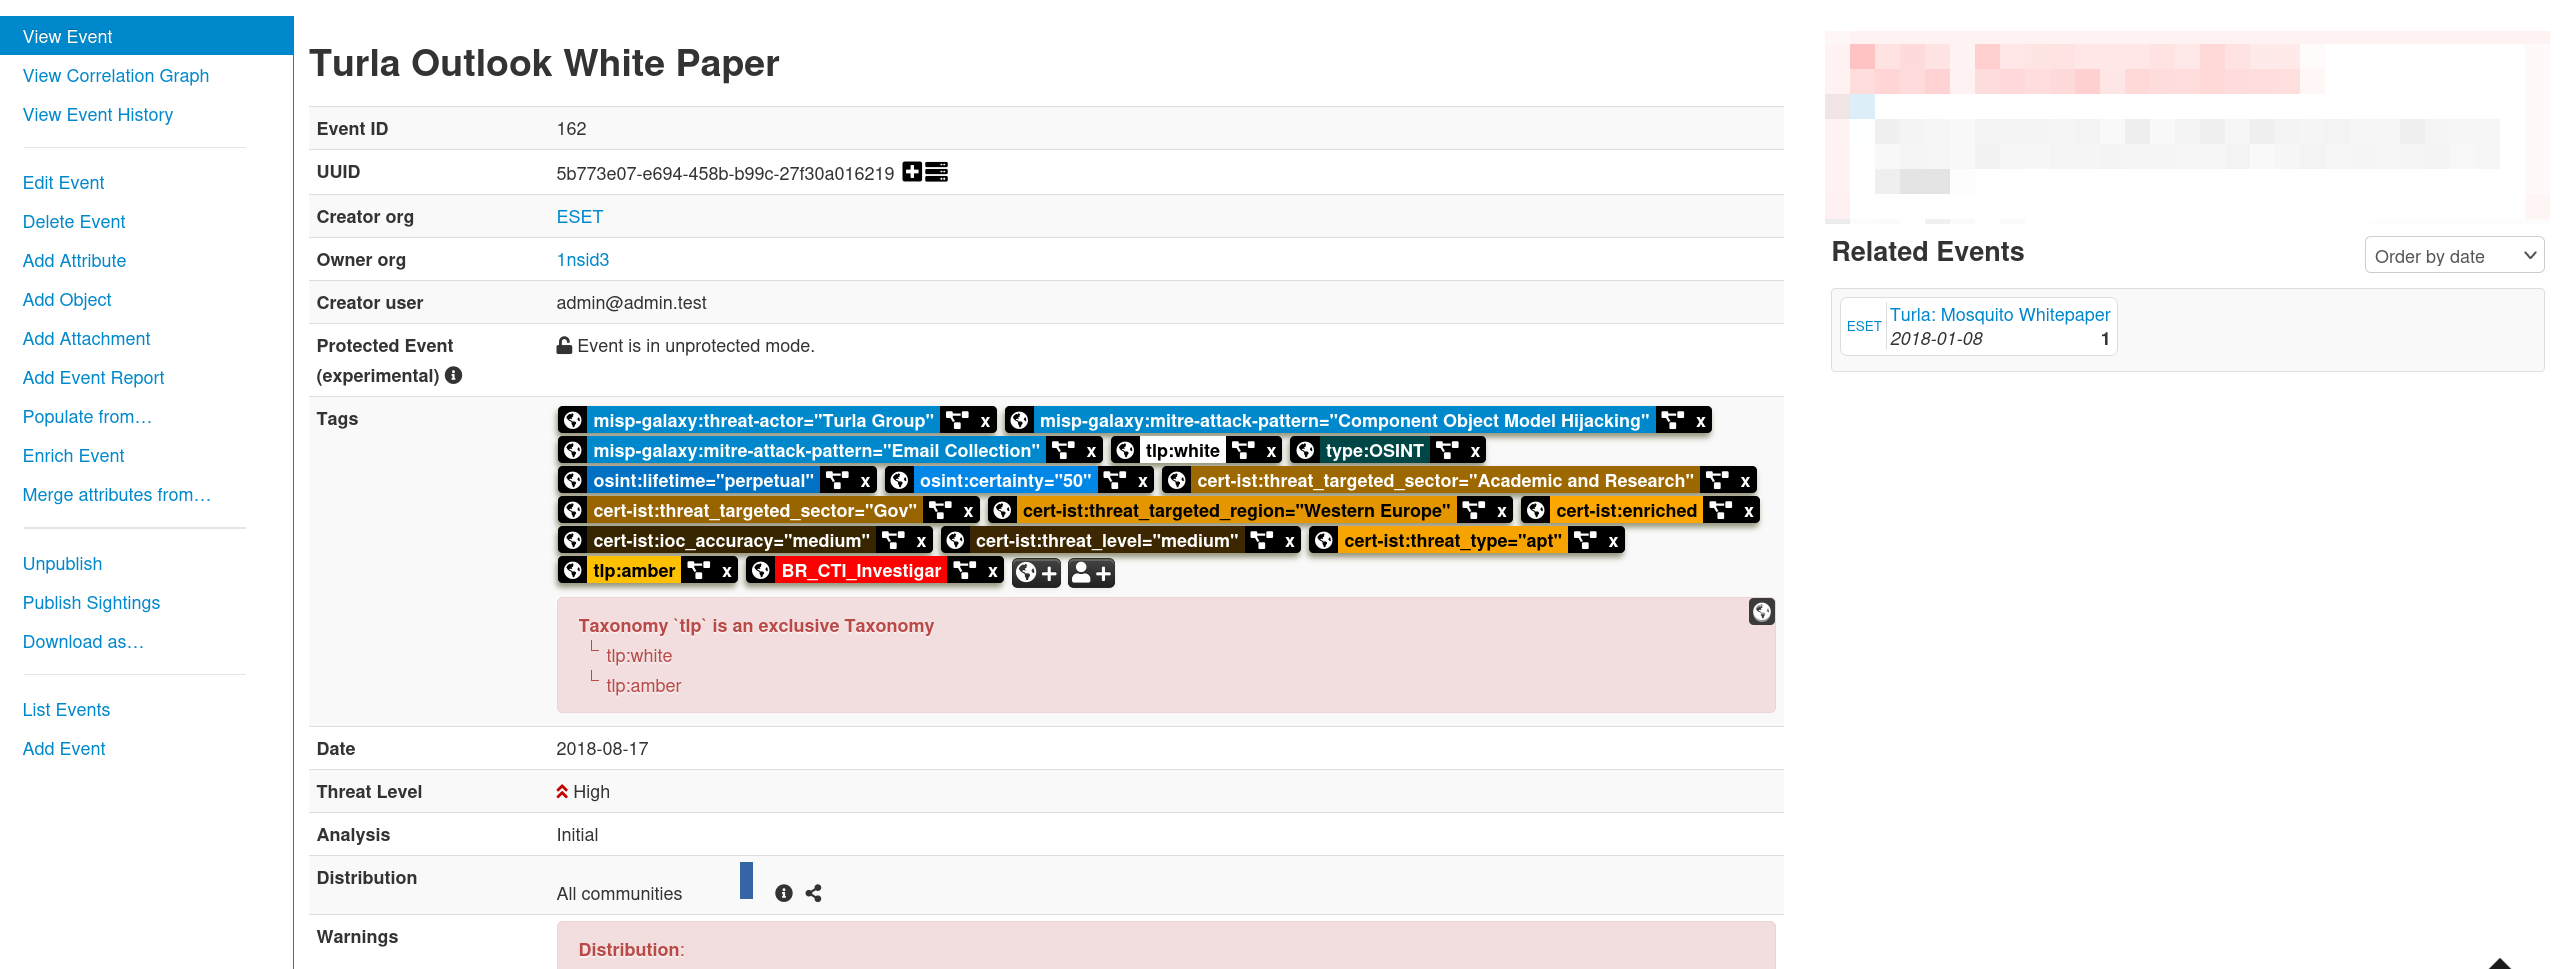
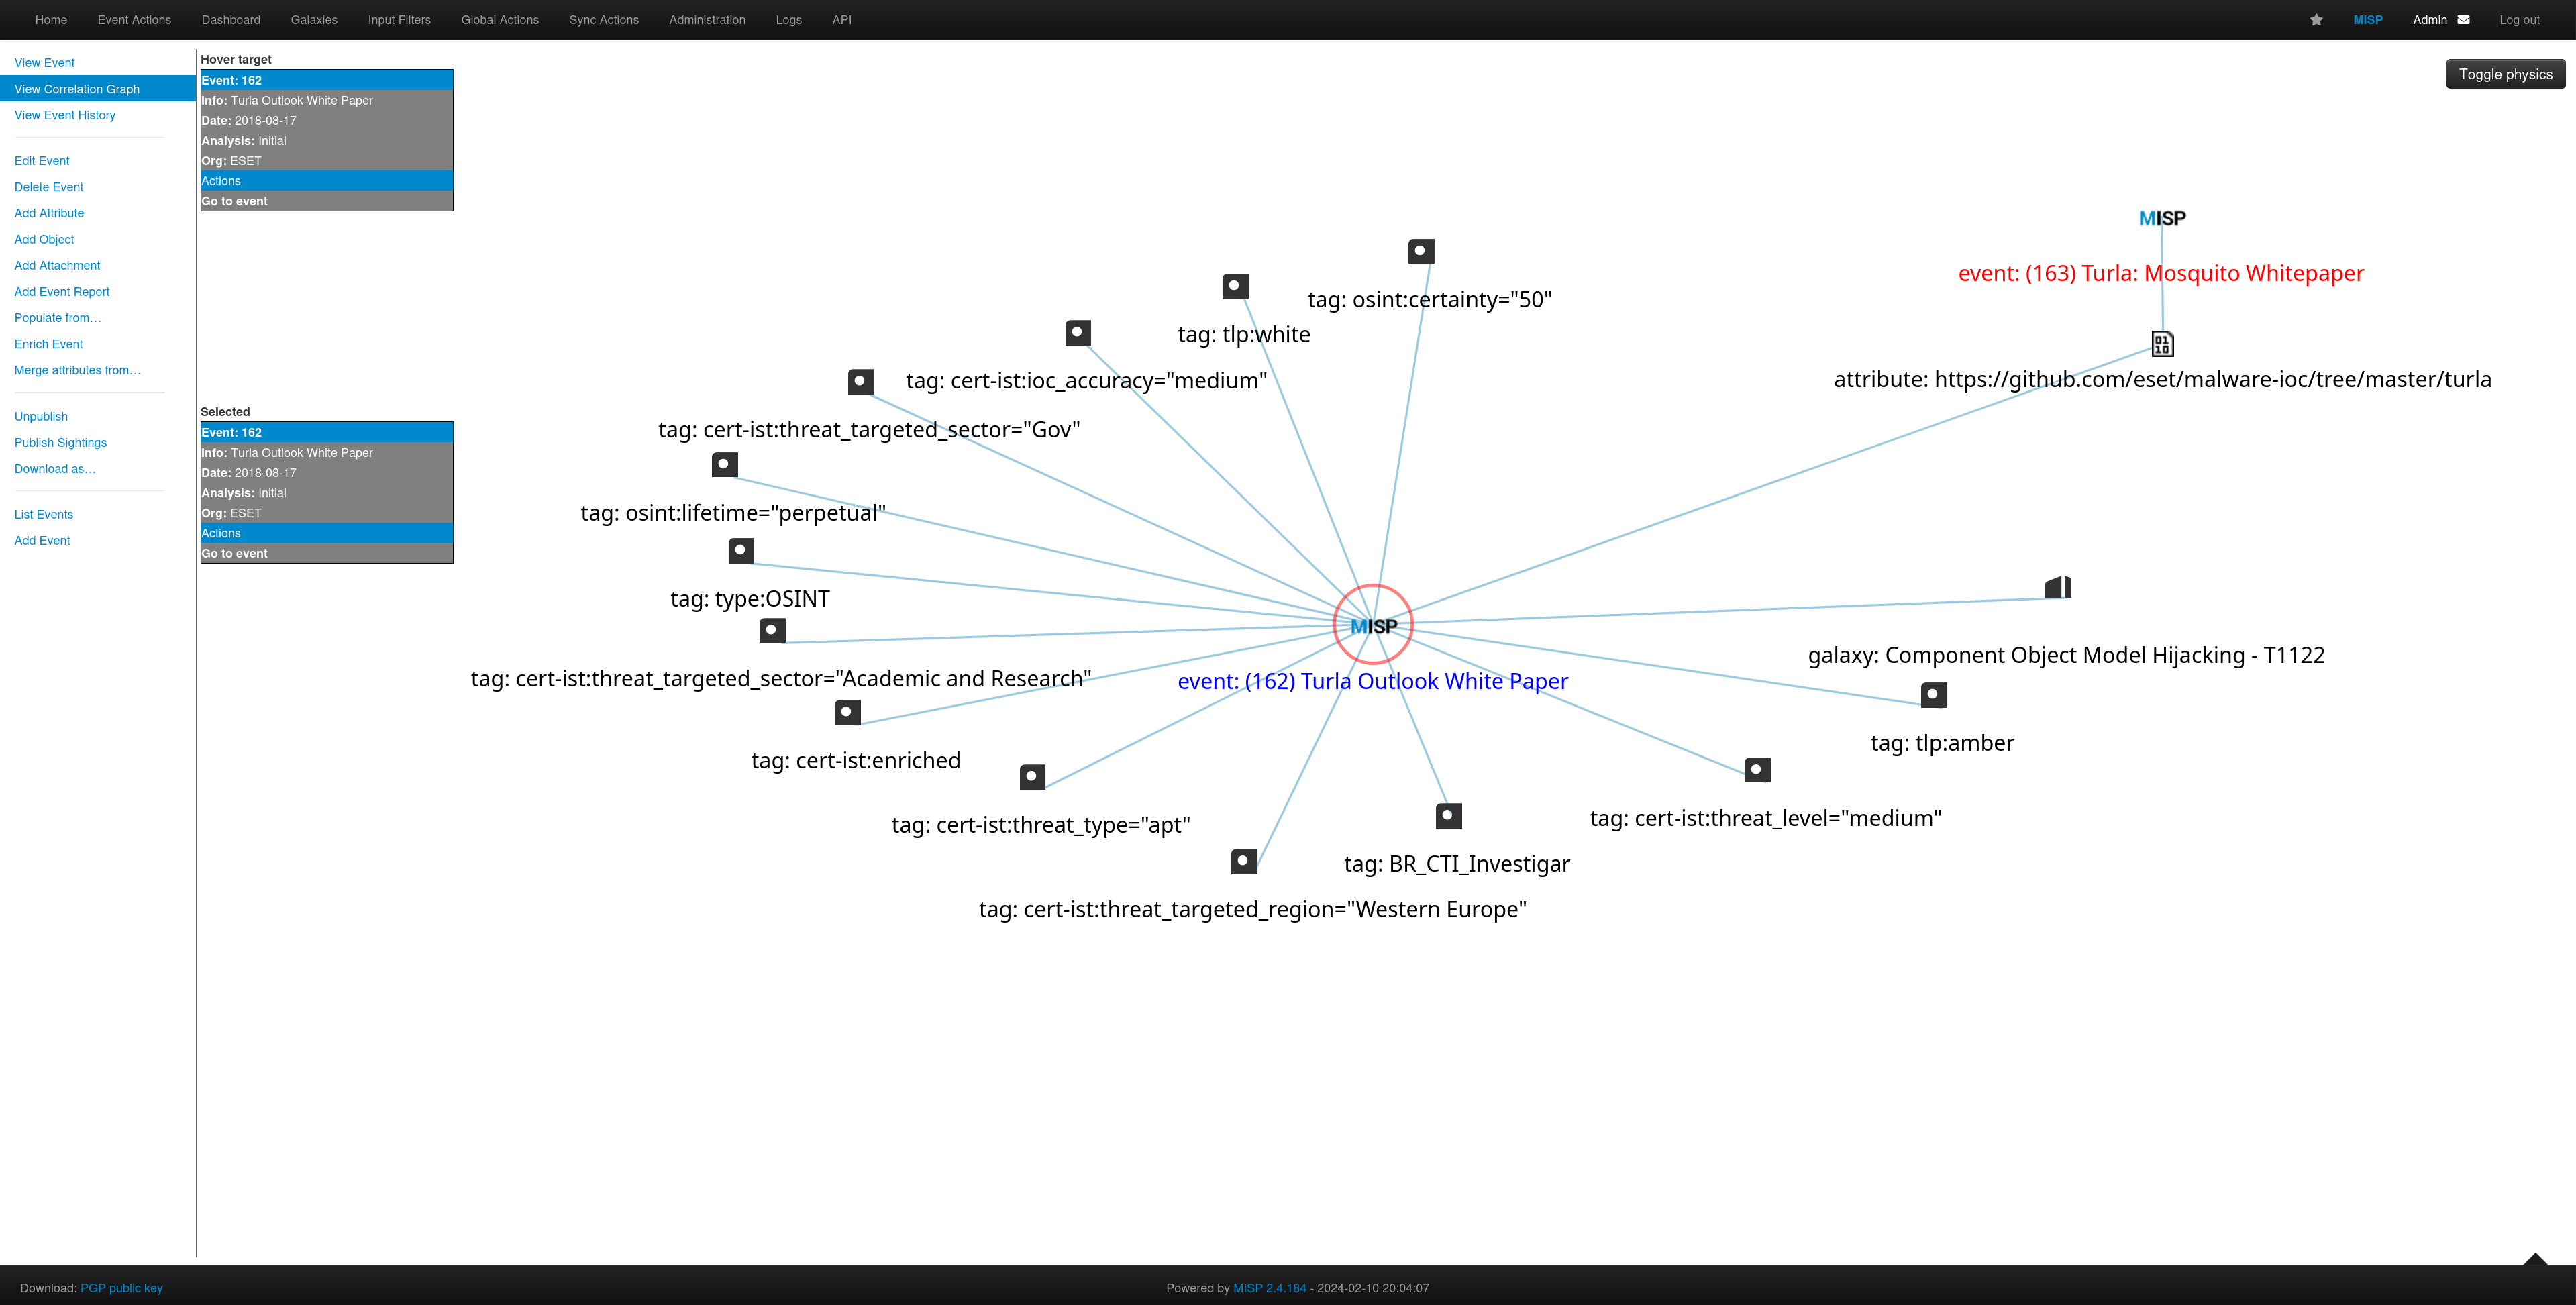
You can look at specific events and the Correlation Graph.
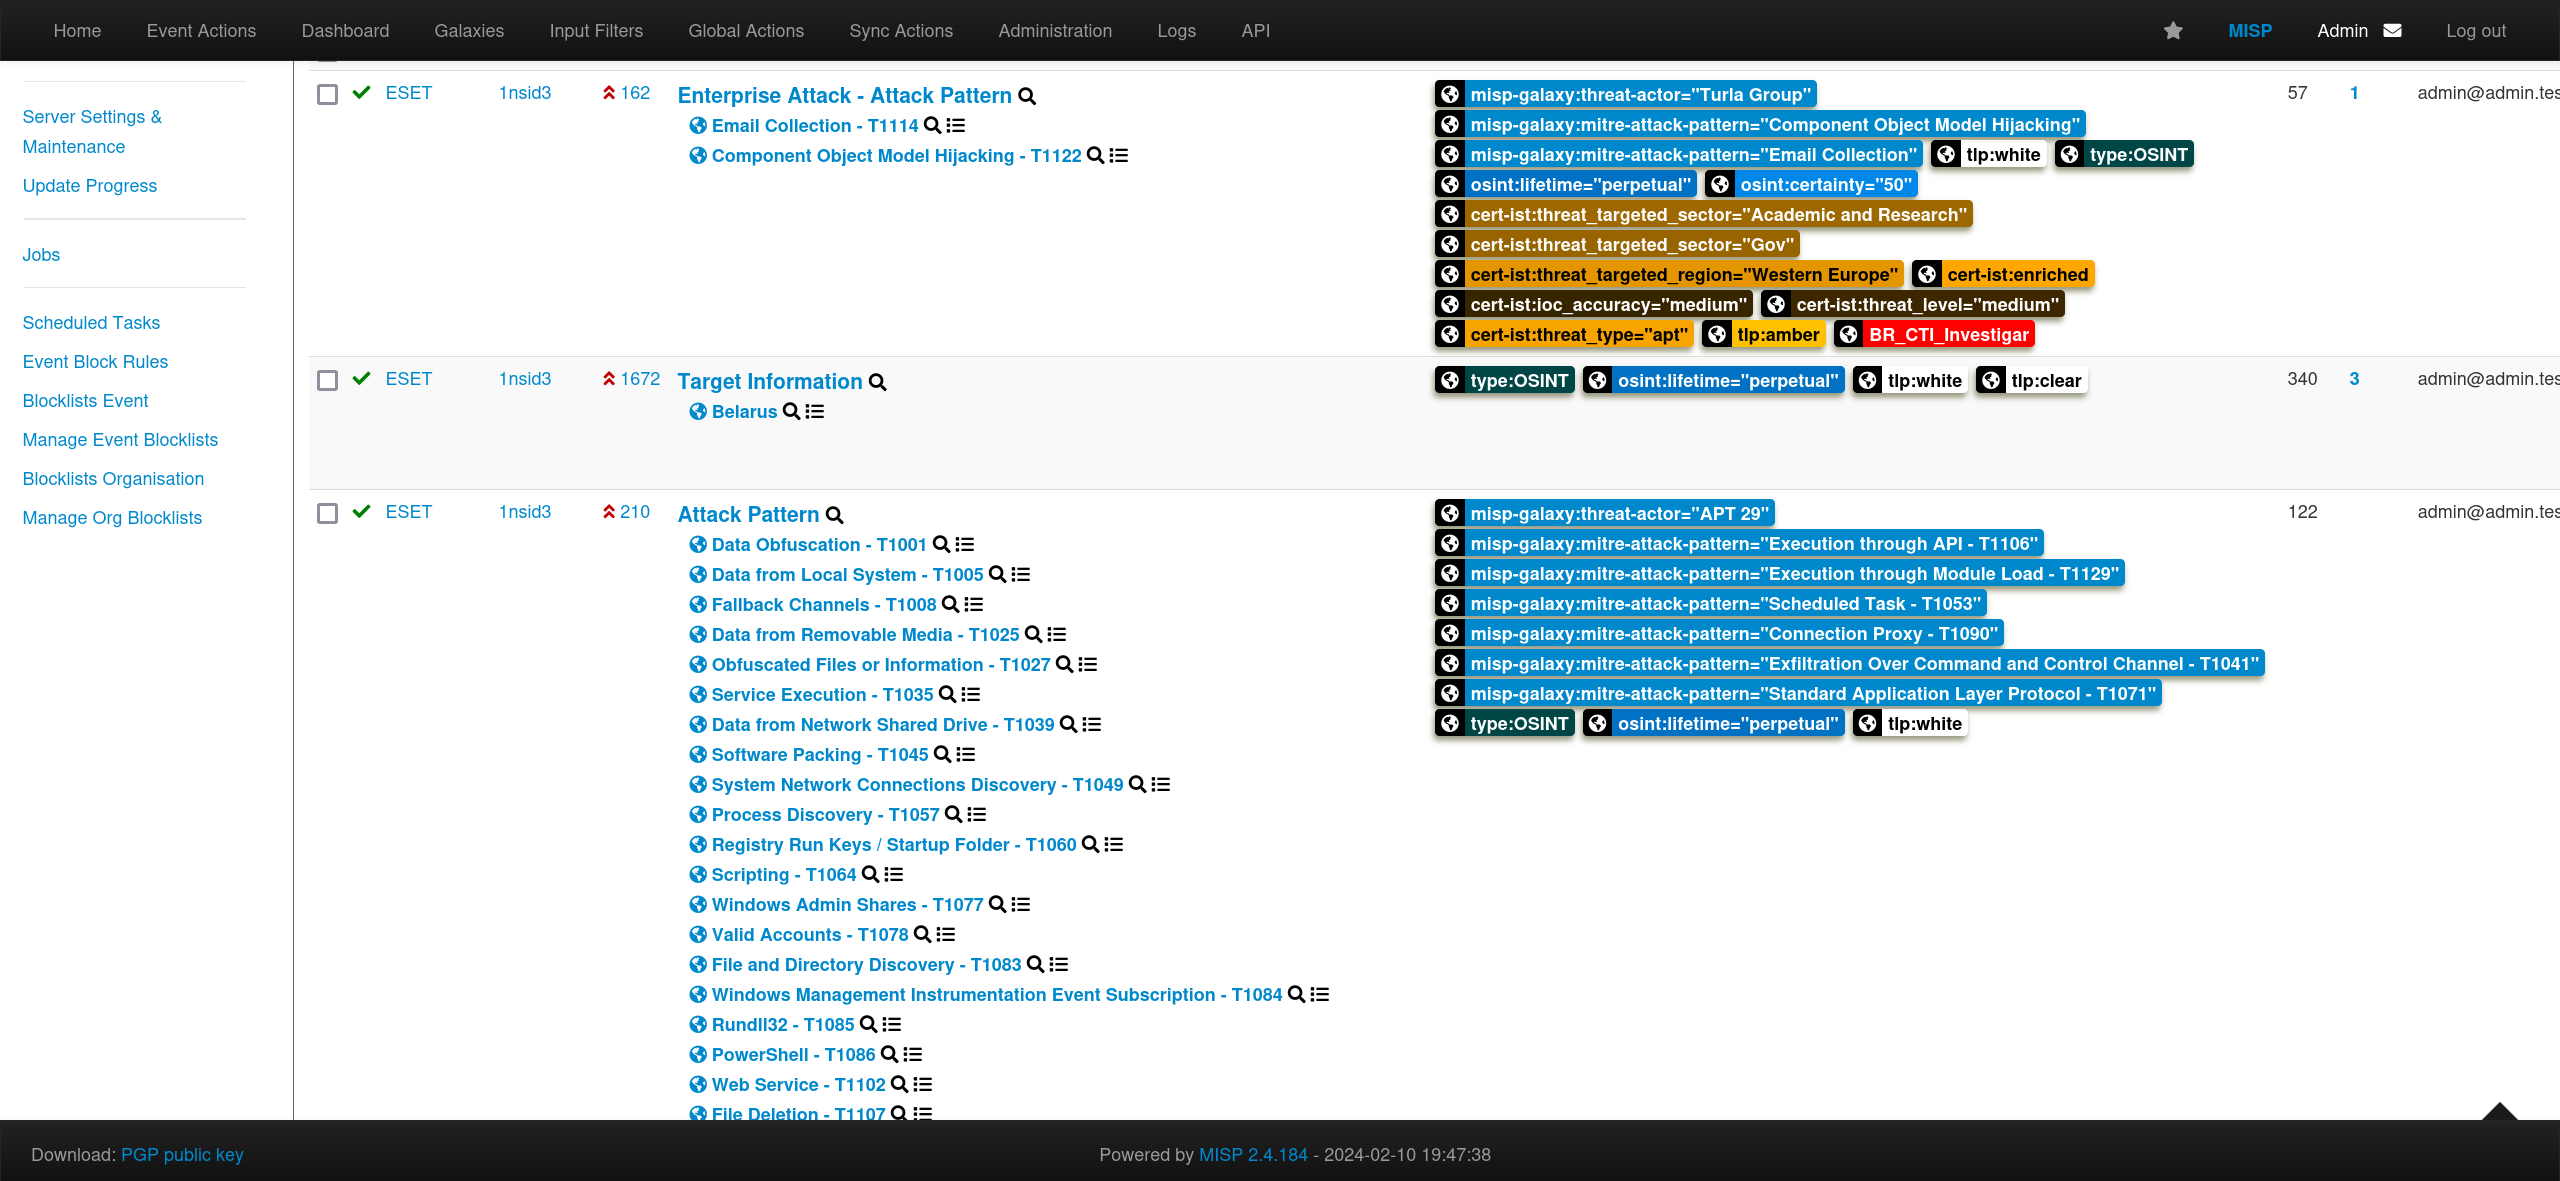
You can also look organization specific intelligence.
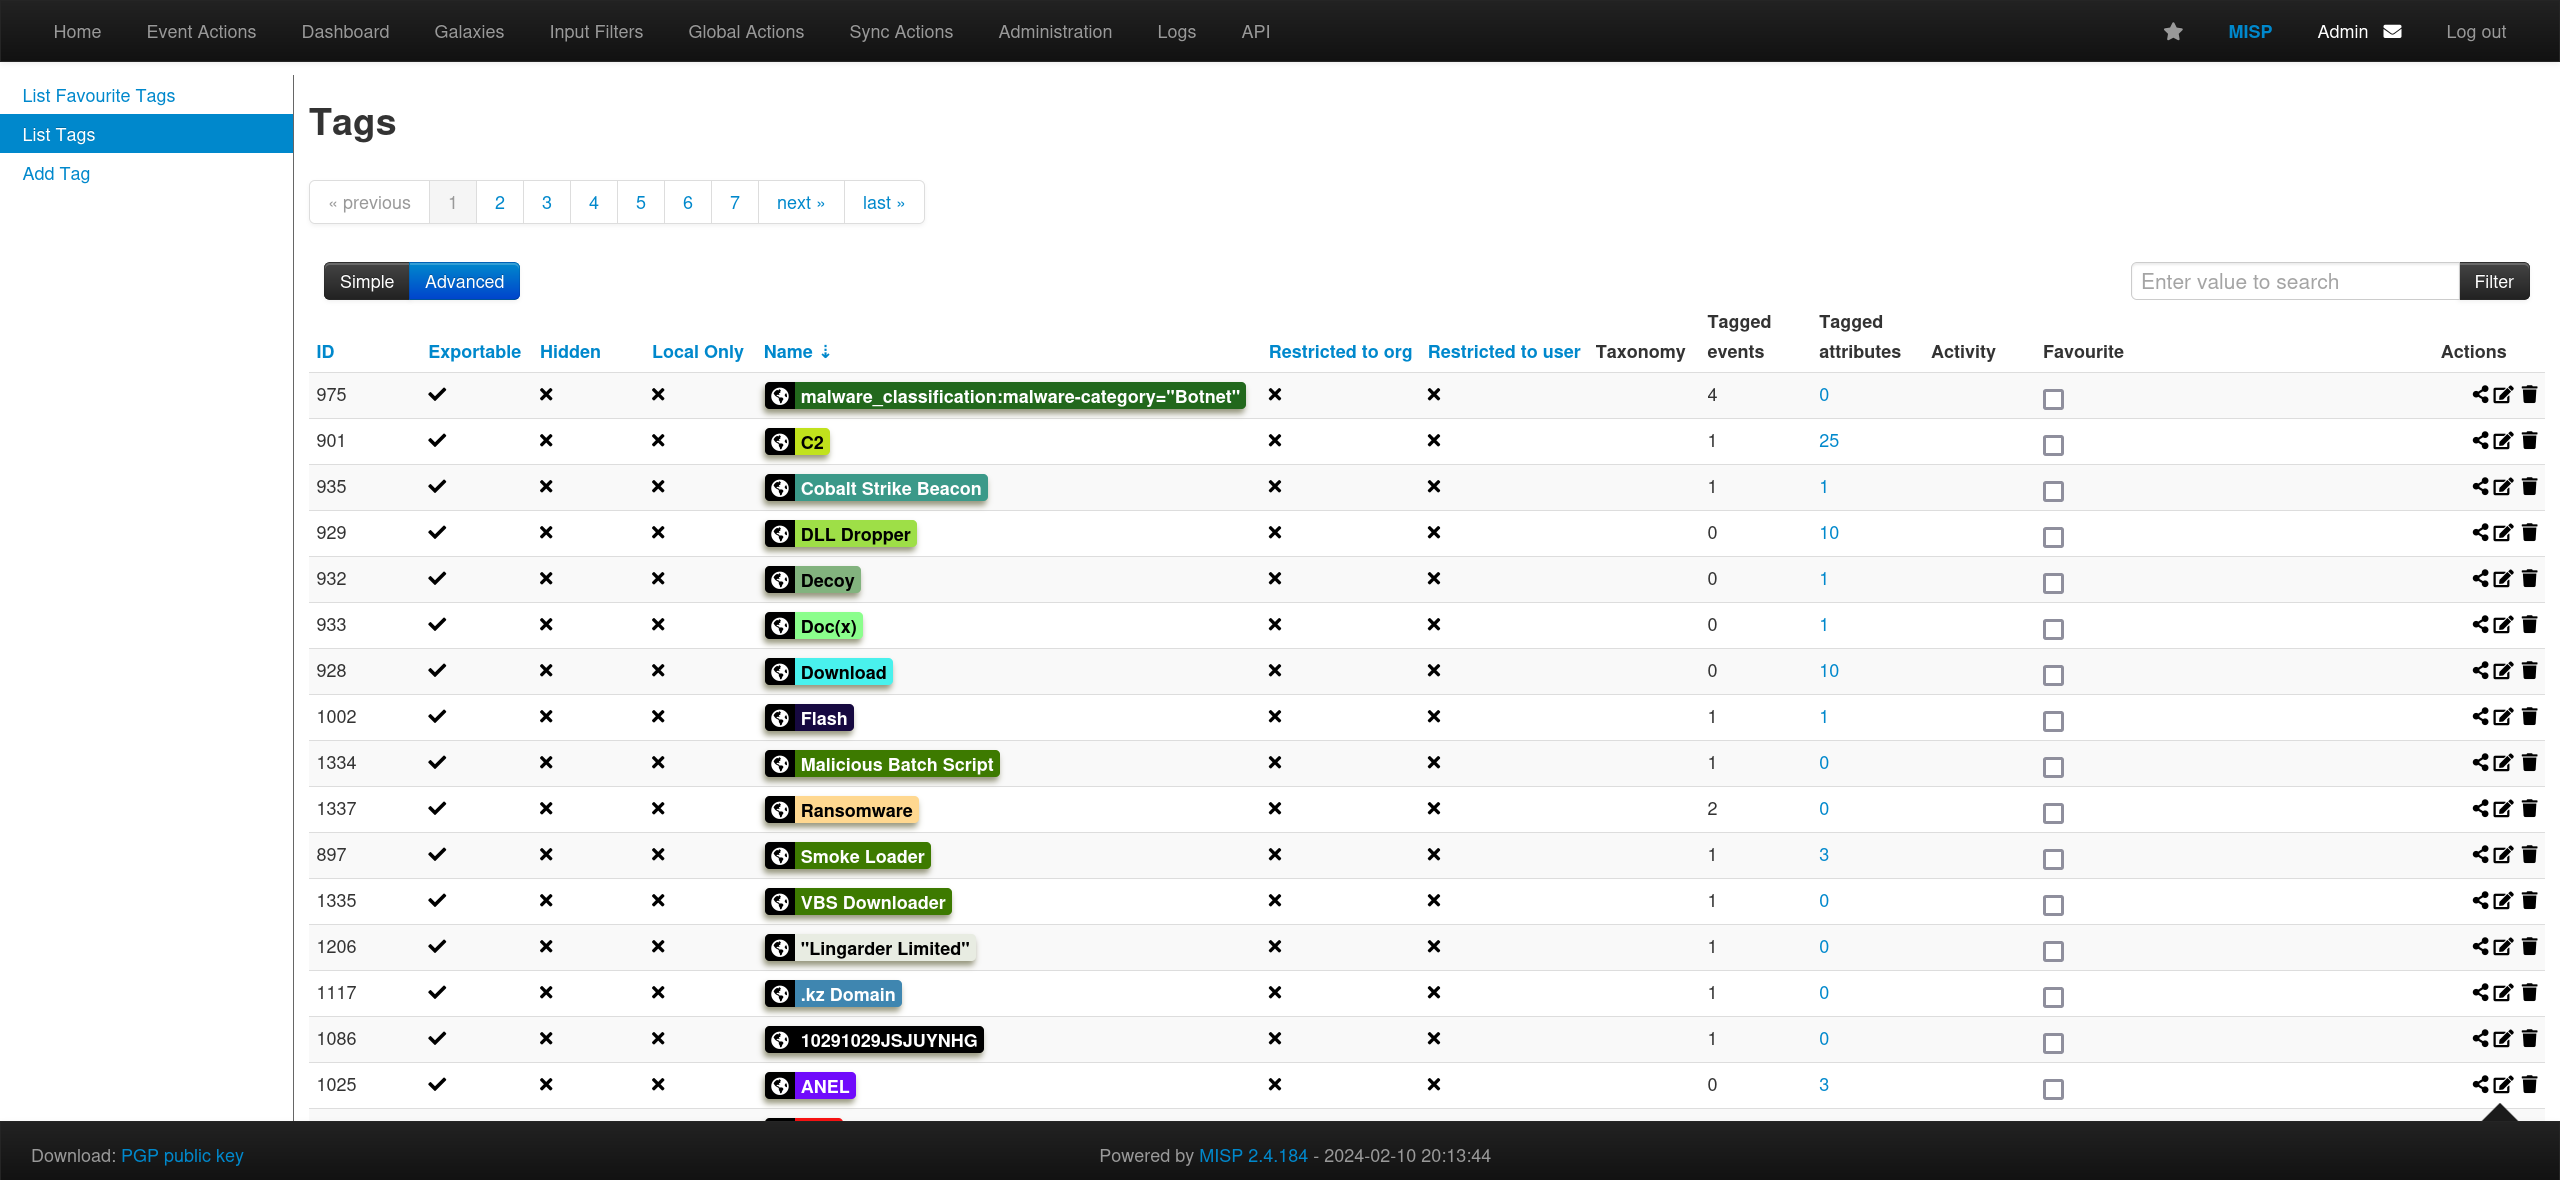
You can filter data based on Tags.
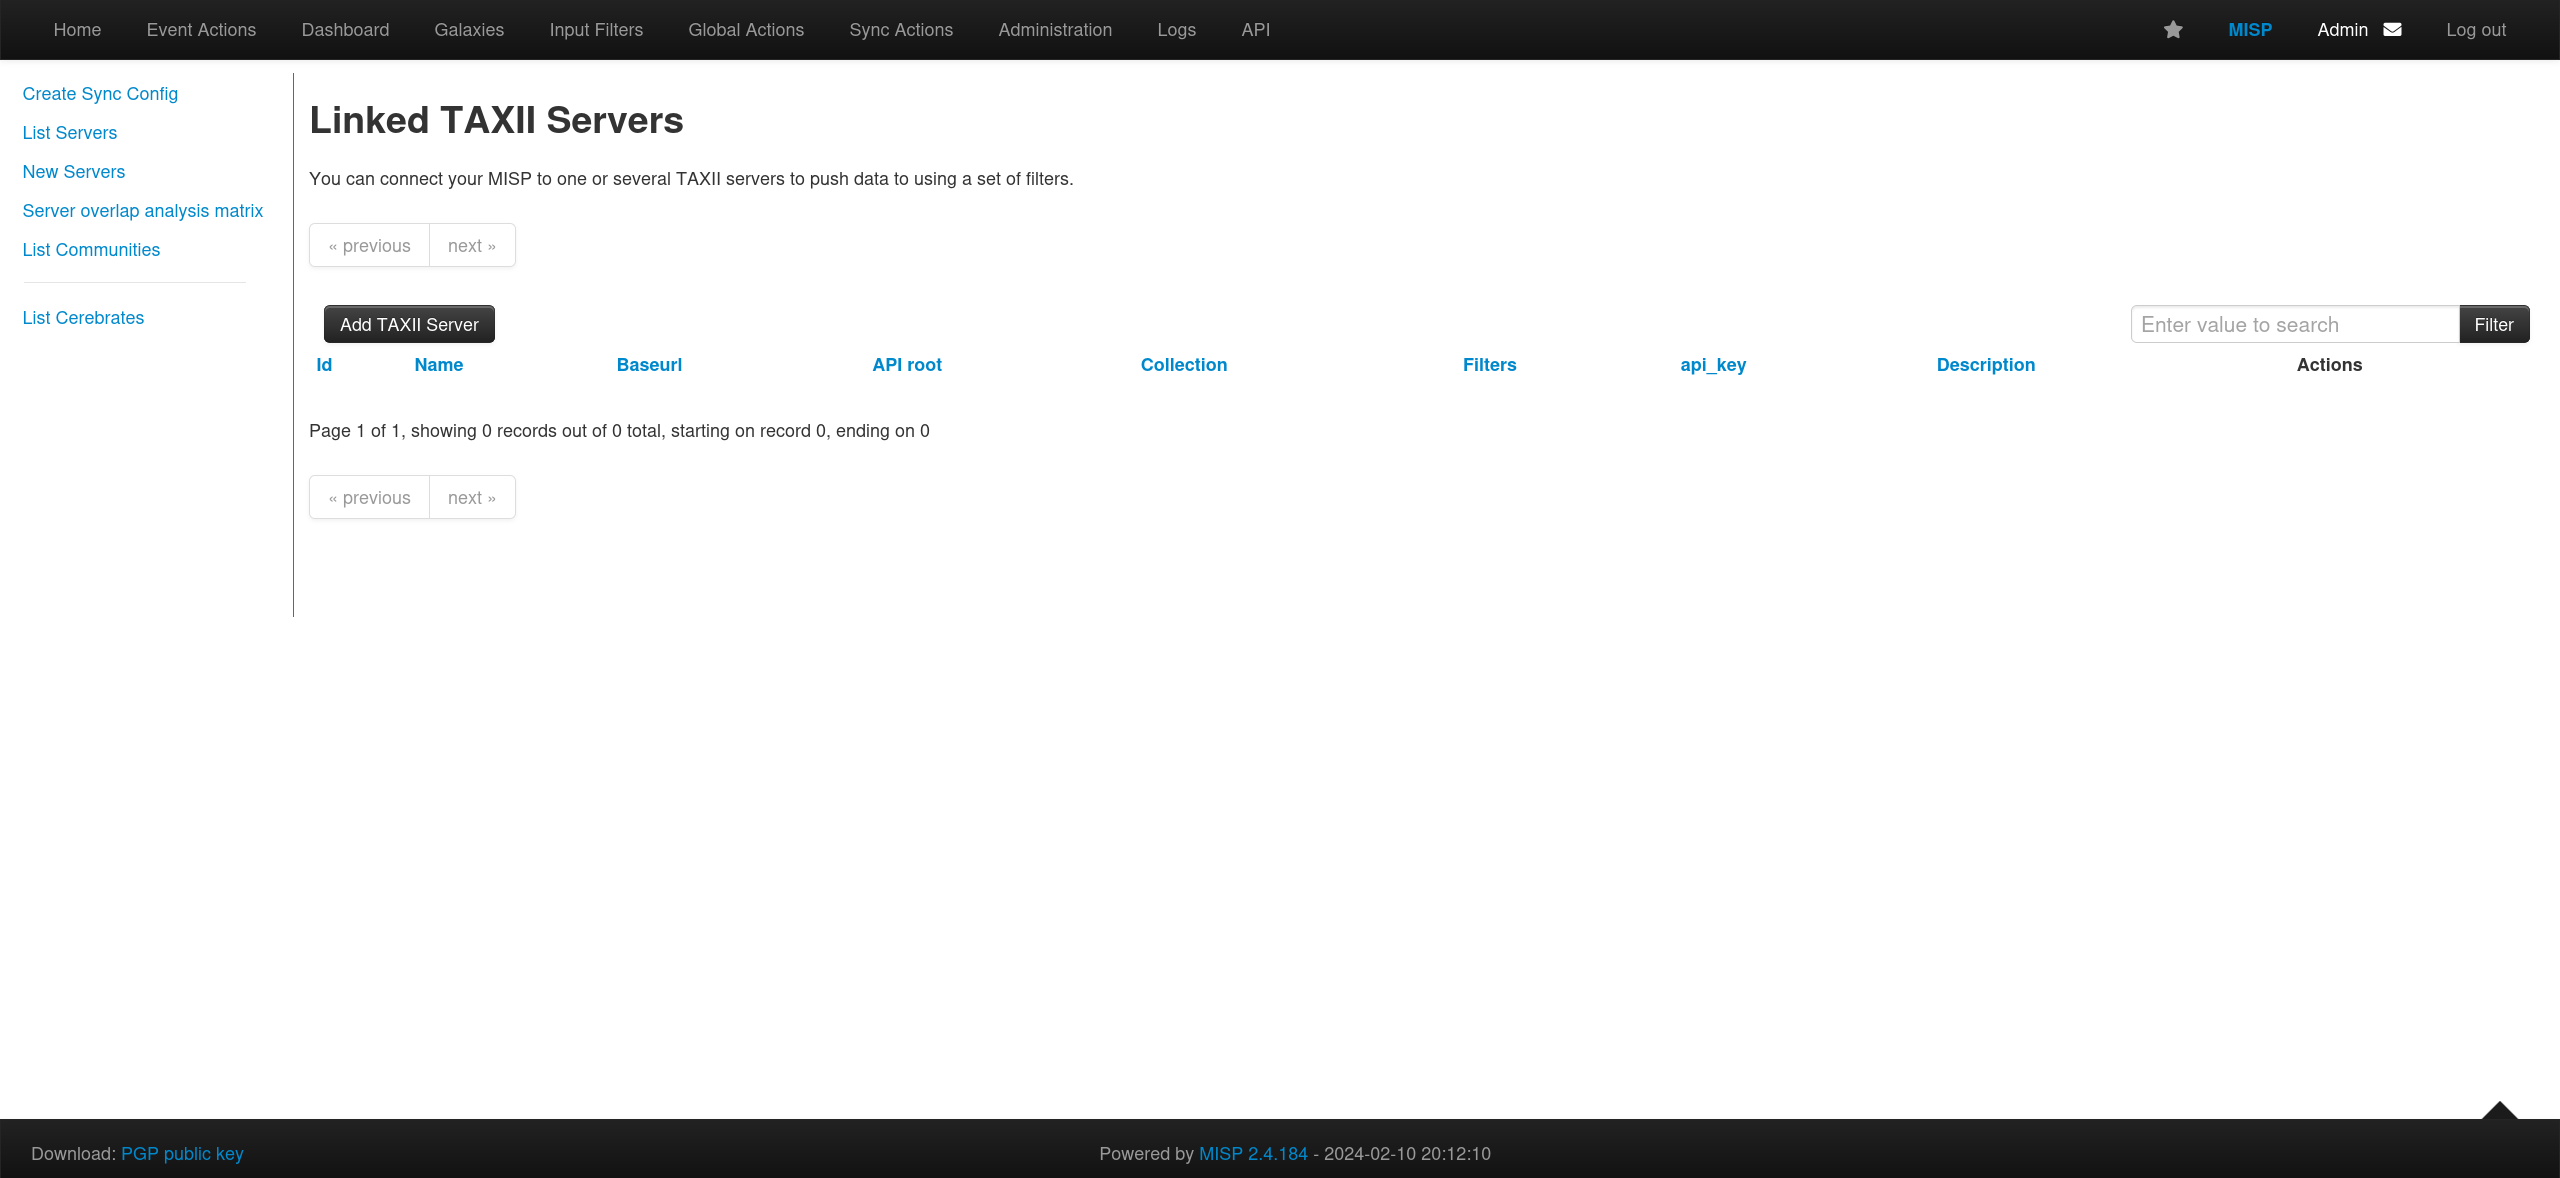
You can also add your desired TAXII Servers into this if you want.
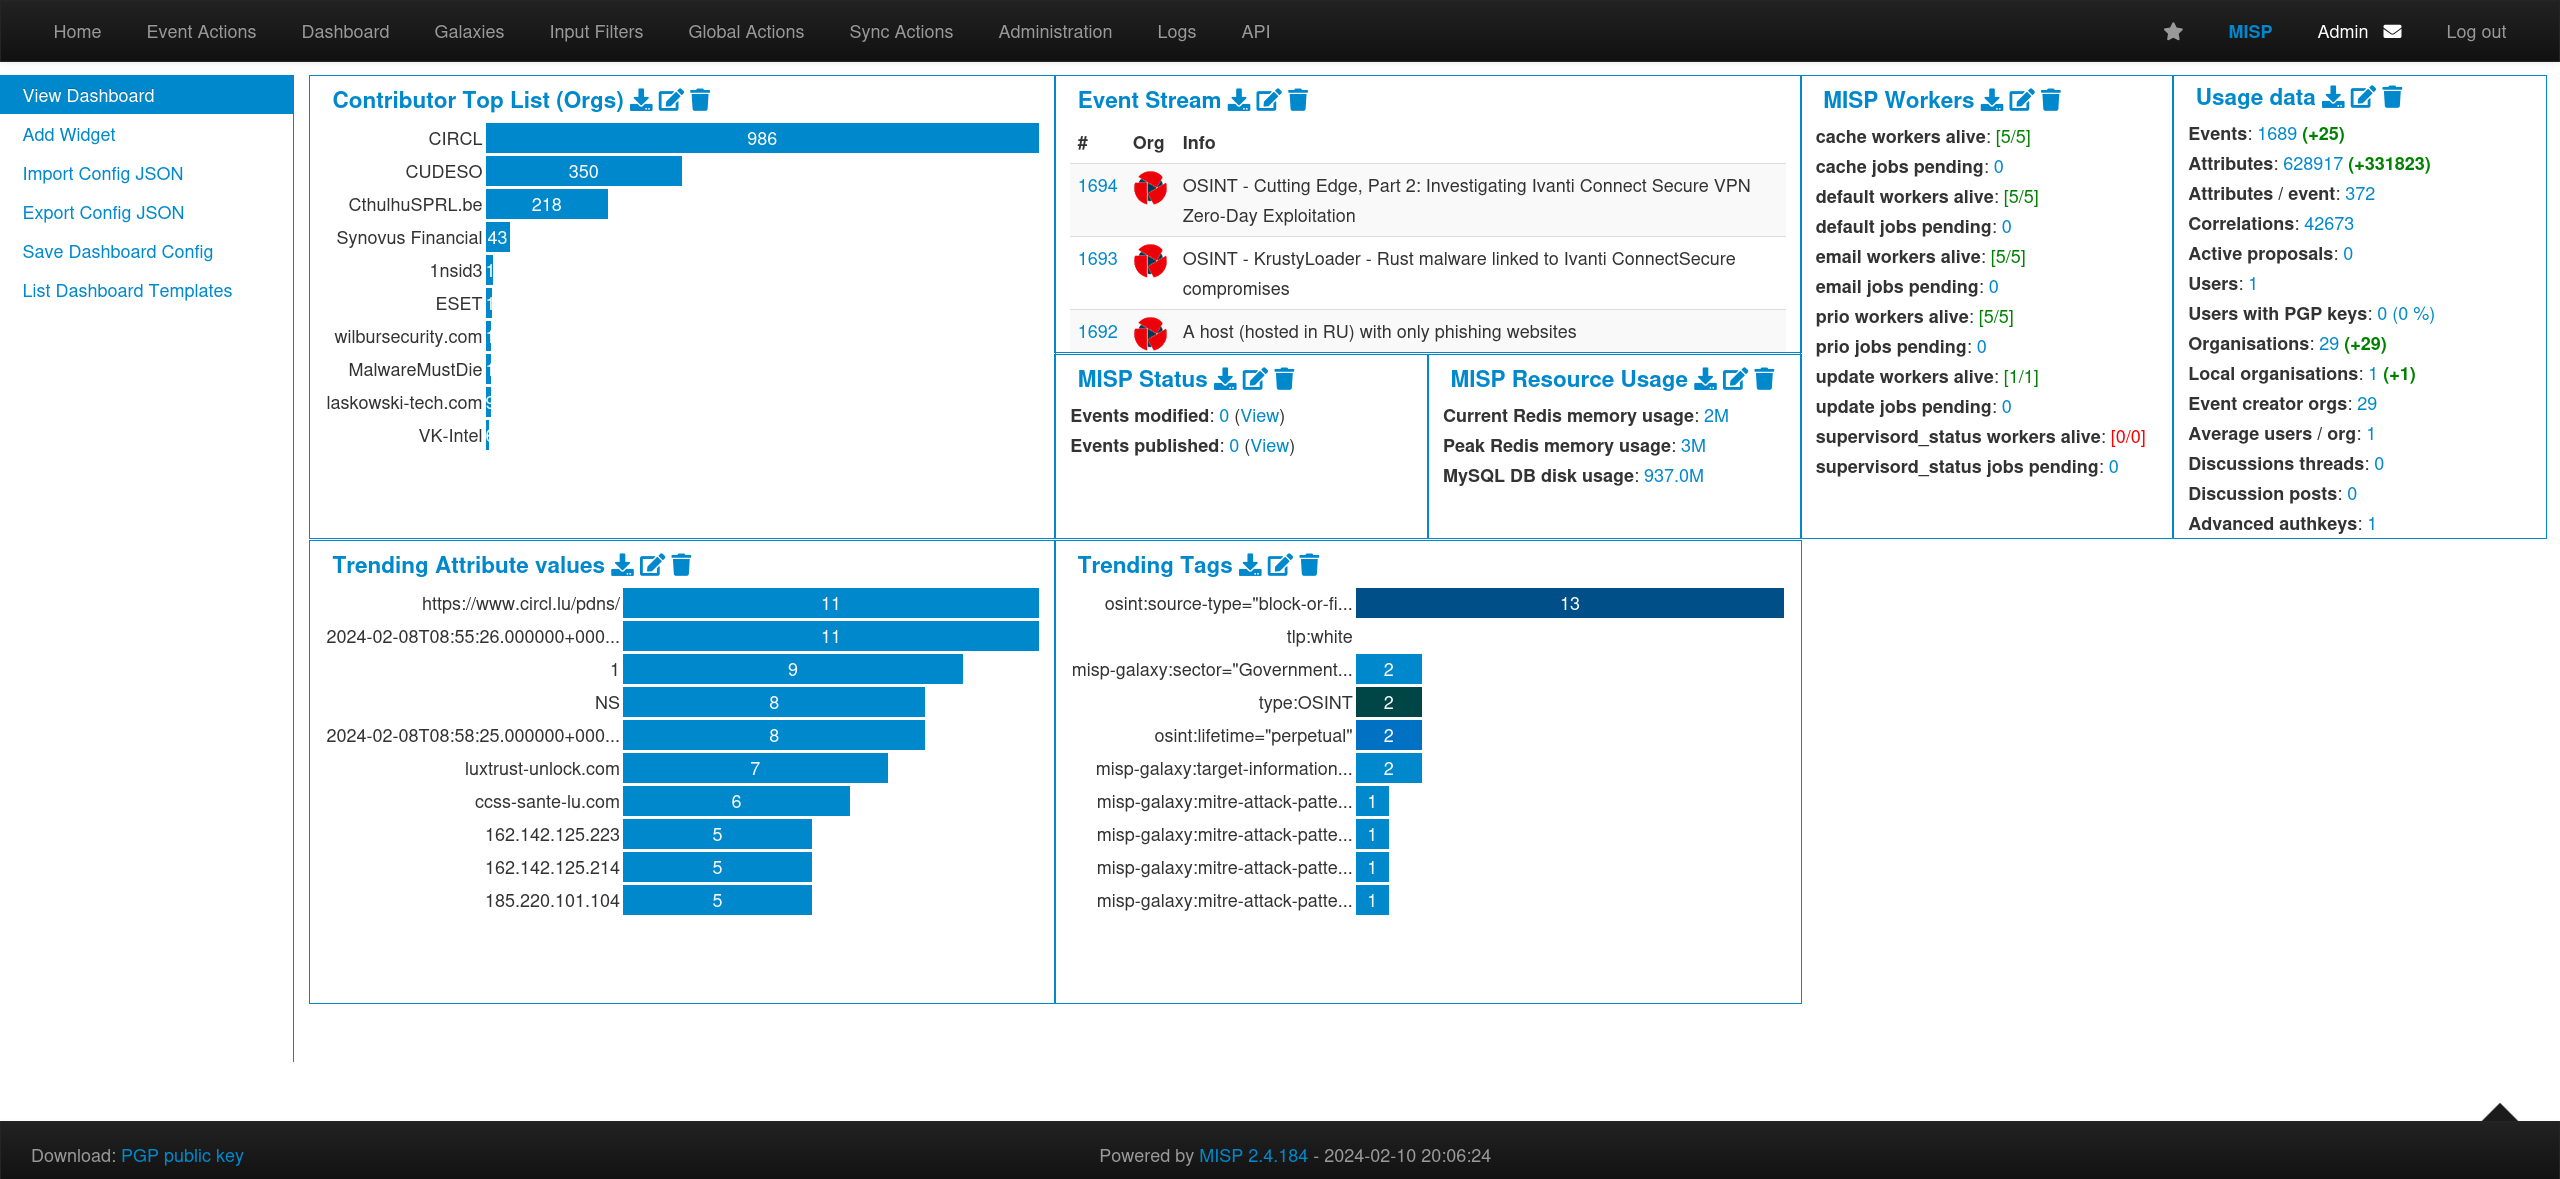
You can also customize the Dashboard with the available widgets.
These are just a few examples. The possibilities are huge depending on how you utilize this beautiful platform.
Feel free to put a comment if you have any question or feedback. I’ll be happy to answer.
All the best to your threat hunting journey! 🎉